My DualSense started sticking on the R2 trigger a couple of weeks ago, right in the middle of a ranked Fortnite match, which is exactly the kind of timing that makes you want to fix it immediately instead of researching it properly first.
So before I looked anything up, I grabbed a random cleaning wipe from under the sink and rubbed the whole controller down. Big mistake. The wipe left a faint white residue in the seams around the touchpad that took two more cleaning sessions with actual isopropyl alcohol to fully get rid of, and for about a week I genuinely thought I had made the trigger issue permanent.
That experience is basically why this guide exists. Most articles on this topic either assume you already know the difference between a safe cleaner and a damaging one, or they bury the actual product recommendations three paragraphs deep under general fluff about why controllers get dirty. So before you clean yours, here is exactly what to use, what to avoid, and how to actually do it without turning a five minute wipe down into a multi day repair project.
The Short Answer: What You Actually Need
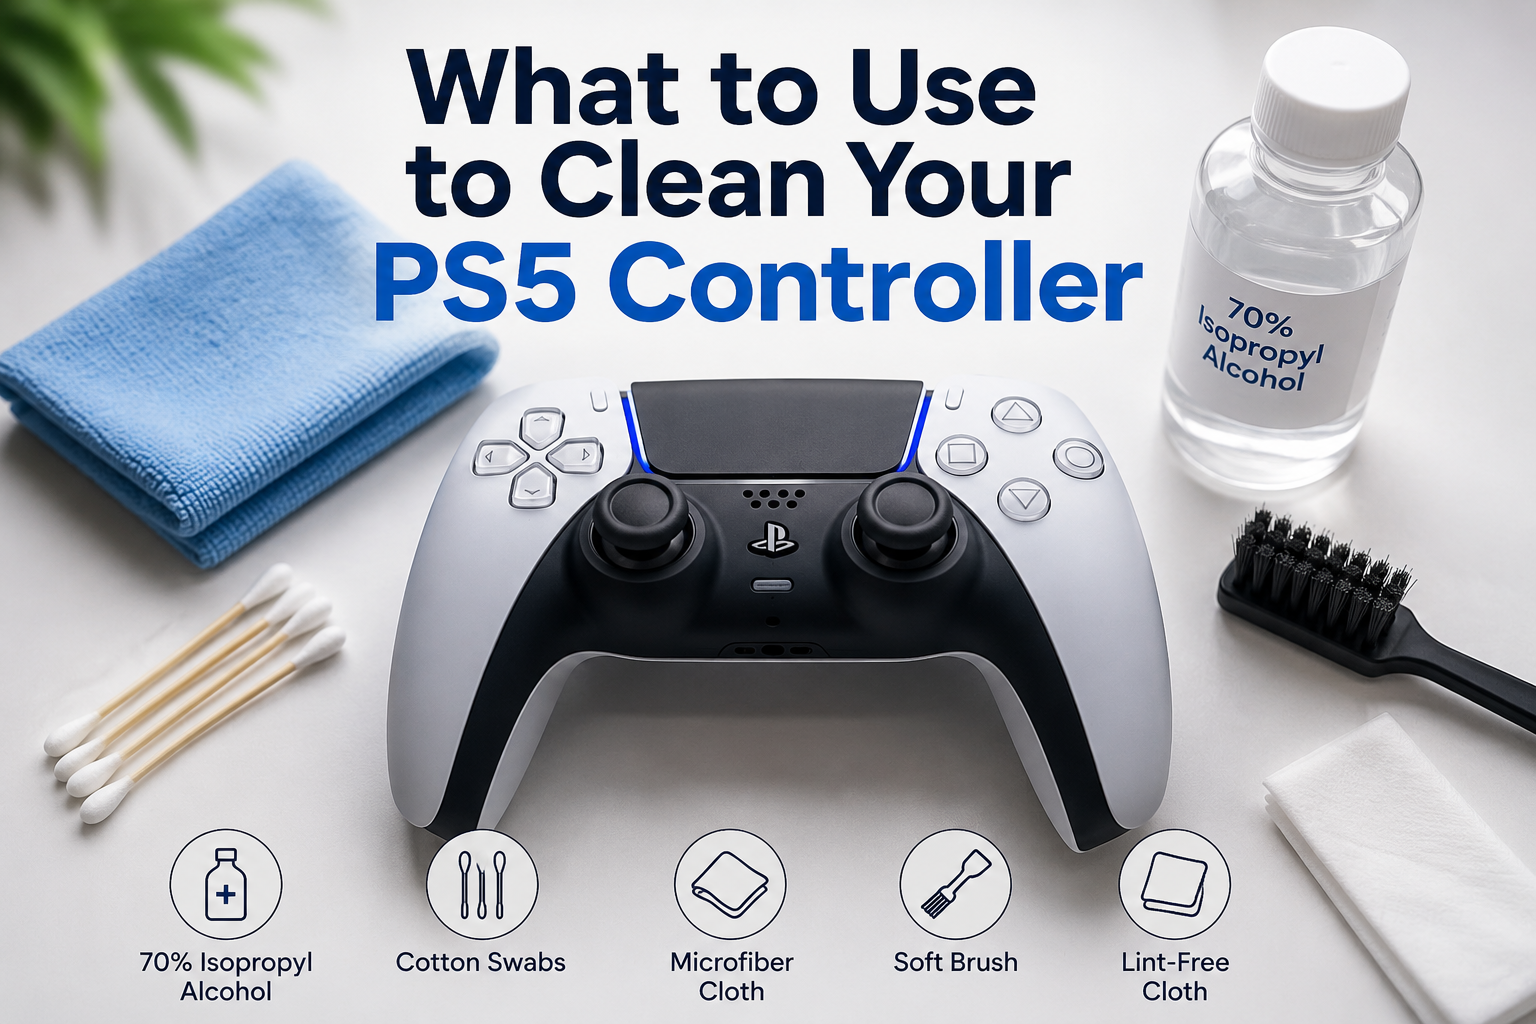
If you just want the quick answer, here it is. You need isopropyl alcohol at 70 percent or higher, a microfiber cloth, cotton swabs, and a can of compressed air. That is genuinely it for a standard clean, and it covers the touchpad, the grips, the buttons, and the area around the thumbsticks without needing to take anything apart.
If you plan to open the controller for a deeper clean, because the surface level clean did not fully solve stickiness or drift, add a Phillips PH00 screwdriver, a plastic spudger or pry tool, and a pair of tweezers for pulling out lint and hair that gets trapped near the stick modules.
Skip anything with ammonia, skip household glass cleaner, skip baby wipes, and skip water entirely, even a little bit on a slightly damp cloth. It is tempting to assume that if something is safe on your phone screen or your desk, it is safe here too, but the DualSense is not sealed against moisture the way a lot of modern electronics are.
Anything that seeps past the seams around the buttons or the touchpad can sit on the internal ribbon cable or the analog stick board, and corrosion from that does not show up immediately. It usually shows up as a random button not registering weeks later, long after you have forgotten you even cleaned it, which makes it hard to connect the two events and easy to blame the controller itself instead of the cleaning method.
Why Each Tool Matters
Isopropyl alcohol is the core product almost every repair guide and teardown recommends, mainly because it evaporates fast, leaves no residue, and cuts through skin oil better than most household cleaners. Lower concentrations than 70 percent have more water mixed in, and that water is what causes the problems people run into.
The microfiber cloth handles the outer shell and grips, and while paper towels are a common substitute, some brands shed tiny fibers that end up inside the controller through the vents. Cotton swabs let you apply alcohol precisely to tight spots like the thumbstick base instead of soaking a whole area, and compressed air should always come first, so you are not just smearing dry dust into a paste once the cloth comes out.
What Not to Use, and Why People Get This Wrong
A lot of the advice floating around online, including on forums and social media, recommends things that sound reasonable but end up causing damage. A few worth calling out specifically.
Water or soapy water. It seems harmless because it is what you would use on most surfaces in your house, but any liquid that is not fast evaporating alcohol risks sitting inside the shell and corroding contacts.
Household glass or multipurpose cleaners. These often contain ammonia or other chemicals that can degrade the plastic finish or the rubber grip texture over time, leaving a slightly tacky or discolored surface.
Rubber bands or physical tension fixes. This one shows up constantly in Reddit threads and Facebook gaming group comments, someone wrapping a rubber band around a thumbstick to pull it toward center and calling it a fix for drift. It is worth knowing this is not a real fix. Drift is almost always caused by a worn or dirty potentiometer inside the stick module, not by the stick being mechanically off center, so tension tricks like this do not address the actual cause and can make input feel worse in one direction while adding extra mechanical strain in the other.
Full submersion or running it under a tap. This should be obvious, but people do try it, especially after spilling something sticky on the controller. It is one of the fastest ways to permanently kill the internal board.
Step by Step: Cleaning the Exterior
Start with the controller off and unplugged, and turn the PS5 off too, since you will likely bump the PS button by accident while cleaning.
- Use the compressed air first, holding it a few inches away, to clear loose dust from the seams, the vents near the speaker, and around the buttons.
- Lightly dampen the microfiber cloth with isopropyl alcohol. Do not spray alcohol directly onto the controller, spray it onto the cloth instead.
- Wipe down the back grips, the top shell, and the touchpad in small circular motions.
- Dip a cotton swab in alcohol, squeeze out the excess so it is just barely damp, and clean around the face buttons, the D-pad edges, and the base of both thumbsticks.
- For the charging port, use a dry cotton swab or a small brush rather than alcohol, since electrical contacts in a port are more sensitive to moisture sitting inside them.
- Let everything air dry for at least ten to fifteen minutes before turning the controller back on.
Cleaning the Trouble Spots People Miss
The touchpad edges collect more grime than people expect, since fingers rest there constantly during long sessions. Run a dry swab along the seam where the touchpad meets the shell first, then follow with a very lightly dampened one.
The triggers, L2 and R2, have small gaps on either side where dust builds up and eventually causes a gritty or catching feeling when pressed. A toothpick wrapped in a thin layer of cloth can get into that gap more precisely than a swab.
The area directly around the thumbsticks is the most important spot if you are dealing with stick drift specifically, since that is where dust settles into the mechanism that reads stick position. If a light exterior clean does not resolve drift, this is usually the actual source, and it typically requires opening the shell to properly reach.
If You Need to Open It Up
Opening the DualSense is not as intimidating as it looks, but it is worth knowing this can affect warranty coverage if your controller is still under one. If it is out of warranty or you are comfortable with the risk, four screws hold the shell together, two hidden under the L1 and R1 buttons and two at the bottom corners under the back cover.
A plastic pry tool works around the edges of the front faceplate near the sticks to pop it loose without scratching anything. Once open, you can clean directly around the stick modules and the flex cable contacts with a dry swab followed by a very lightly alcohol dampened one, then let it dry fully, ideally overnight, before reassembling.
After You Clean It, Test It
This step gets skipped constantly, and it is the reason people think their cleaning "didn't work" when it actually did, or the reverse, that it worked when a small issue is still quietly there. Test every button one at a time, both triggers through their full pull, and especially both sticks by checking whether they read as perfectly centered when untouched and whether the full range of motion registers evenly in every direction.
A quick way to do this is through any online controller test tool, since eyeballing it during gameplay makes small drift or an unresponsive button easy to miss. If a stick still flickers while sitting untouched after a full clean, that points to worn hardware rather than dirt, and no amount of additional cleaning changes that result.
How Often You Should Actually Do This
If you play daily, a light exterior wipe down once a month is enough to prevent most buildup and takes less than five minutes once you have the routine down. A deeper clean involving the thumbsticks and shell gaps is really only needed when you notice stickiness, drift, or a gritty feel when pressing buttons, not on a fixed schedule.
Cleaning a controller with no symptoms rarely does much beyond a cosmetic improvement, and opening the shell unnecessarily just adds wear to the small clips holding it together. The better habit is paying attention to how the controller feels during normal play and cleaning in response to those specific signs rather than on a calendar.