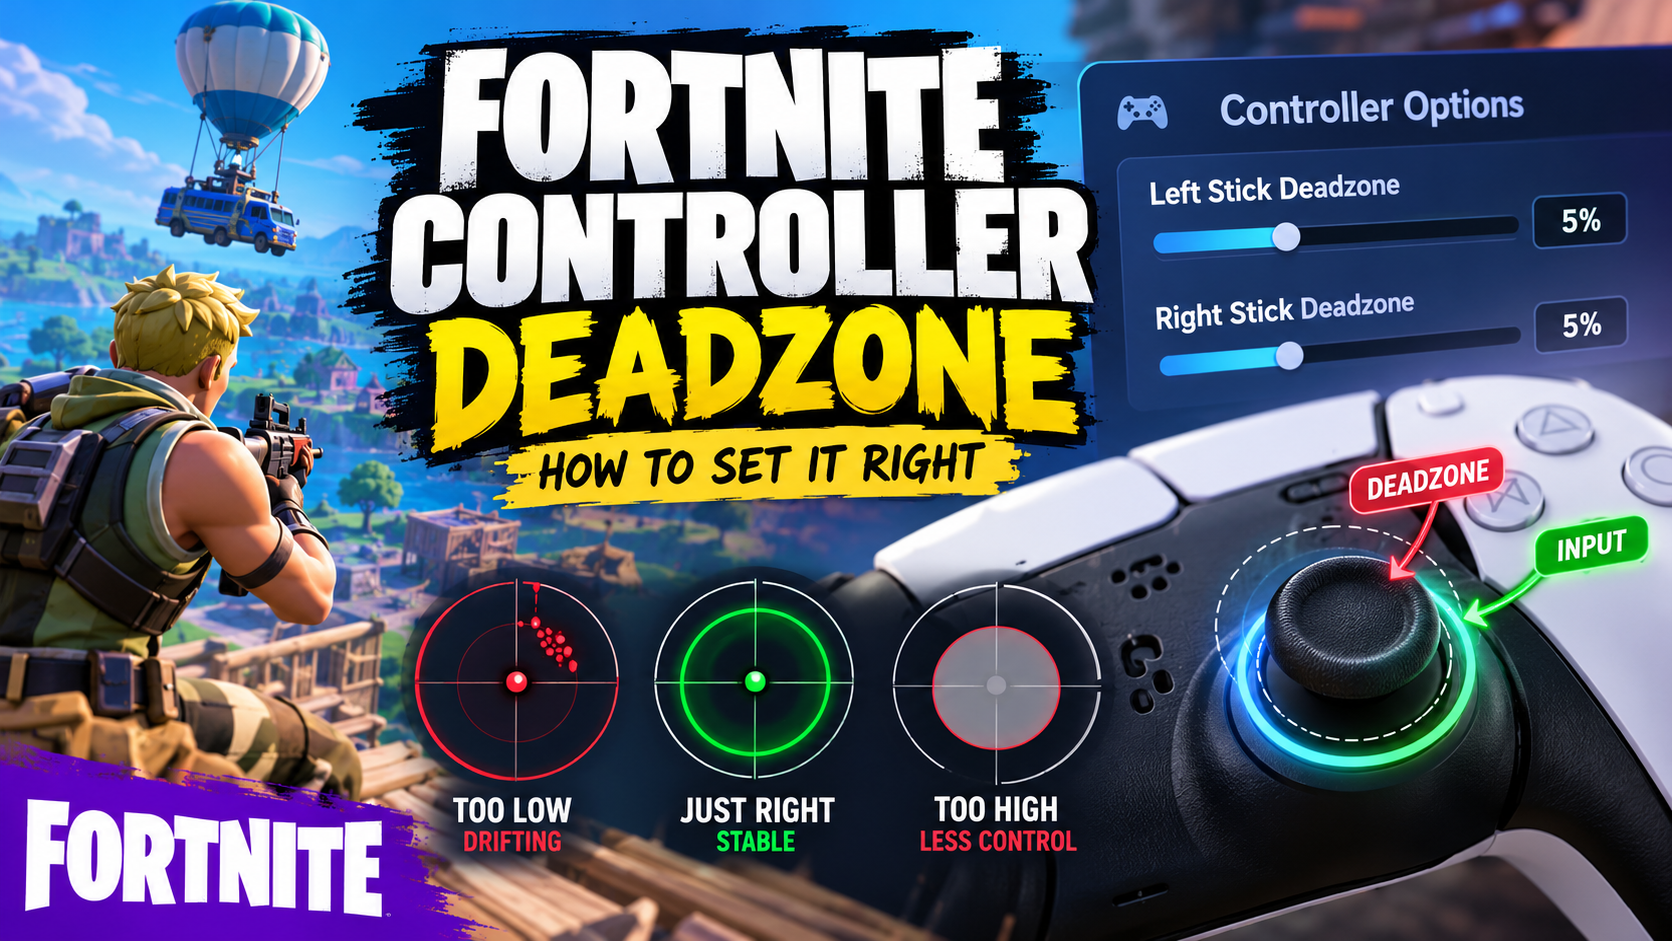
Most Fortnite deadzone guides give you a number and move on. Put 5% here, 15% there, done.
The trouble is that the right number depends on your stick, and your stick is not the same as theirs. A controller with a year of heavy play behaves differently from a new one, even when they come out of the same box.
So this post does it in a different order. Measure the stick first, then set the deadzone from what you measured.
what the deadzone does
The deadzone is the small area around the center of your stick that the game ignores. Push the stick inside that area and nothing happens. Push past it and the game starts reading your input.
One guide from reWASD describes it as "the dead area around your stick's center that the game ignores entirely." That is the whole idea.
It exists for a reason. No stick sits at exactly zero when you let go. Springs and sensors are never perfect, so there is always a tiny leftover reading. Without a deadzone, that leftover would turn your camera or your character on its own.
Fortnite gives you two separate settings, one for the left stick and one for the right.
the tradeoff in one minute
A bigger deadzone hides drift. A smaller deadzone gives you finer control.
Think about the right stick during a fight. Small corrections matter there, the tiny nudge that keeps your crosshair on someone. With a large deadzone, those small nudges fall inside the ignored area, so you have to push harder before anything moves. It feels like the stick is a little late.
With a deadzone that is too small, the opposite happens. A stick that rests slightly off center starts moving the camera when you are not touching it.
Both problems come from the same setting. The goal is the smallest deadzone that still stops the stick from moving on its own.
what the popular guides recommend
I read through several of the usual ones, and they agree on more than I expected.
Esports.net and WeCoach both suggest starting around 5% on both sticks. They say to raise it only if the camera drifts. reWASD says the same thing and adds a method: raise only the drifting stick, one percent at a time, until it stops.
EasySMX lists a different starting point, 15% on the left stick and 5% on the right, with the same note to adjust as needed.
None of them state Fortnite's default value or the allowed range, and I could not find an official source that does. If you want the exact range, the quickest way is to open the setting in game and drag it.
What every guide has in common is the caveat. Every controller wears differently, so treat their number as a place to start, not an answer.
step one: measure your stick
Before you touch the game settings, find out what your stick does when you leave it alone.
Put the controller flat on a table. Do not touch the sticks. Open the stick drift test and watch the readings for both sticks.
Look at three things:
- How far each stick sits from zero at rest.
- Whether the reading wobbles or stays still.
- Whether left and right are different. They often are.
A healthy stick sits very close to zero. If your left stick rests noticeably further out than the right, that tells you the left will need a bigger deadzone than the right. It also explains why EasySMX lists different numbers for each side.
If a stick reads far off center, the deadzone is just hiding a worn part. That is worth knowing before you trust it in a match.
The platform pages work the same way if you want the full pad on screen: PS5 controller test or Xbox controller test.
step two: set the deadzone
Open Fortnite and go to Settings, then Controller Options, then Sensitivity. Esports.net gives that path for the advanced sensitivity options, and the deadzone settings sit in the same group. Turn on Advanced Options if they are hidden. The menu may look different depending on your version.
One caution. That path comes from a guide that did not say which platform it was written for. Console and PC menus can use different names, so if you cannot find it, search the controller settings for the words "Deadzone" or "Advanced" before assuming the setting is missing.
Then:
- Start both sticks at 5%.
- Load into a Creative island or somewhere safe, and let go of both sticks.
- Watch the camera and your character. If either moves on its own, that stick needs more.
- Raise only that stick, one percent at a time.
- Stop at the first value where the movement stops.
That last step is the one people skip. Going from 5% to 20% because it feels safer costs you control and gives you nothing.
how the measurement connects to the percentage
Here is the part I cannot promise.
The stick drift test shows readings between -1 and 1. Fortnite shows a percentage. It seems reasonable that a resting reading of about 0.05 would line up with a deadzone near 5%, if the percentage is a share of full stick travel.
I have not confirmed how Fortnite maps its percentage to the raw value, and none of the guides I read explain it. So use your reading as a rough guide for where to start, then trust what you see in the game. If the camera still moves, go up a little. If it feels sluggish, come down.
when the deadzone keeps climbing
Sometimes the deadzone is not the real issue.
If the camera drifts and you need a very large deadzone to stop it, the stick may be worn out. A stick that is worn tends to drift more over time, so the number you set today stops working in a few weeks.
Run the circularity test and trace the rim slowly. A round shape is what you want. A flat spot or a jagged edge means the stick is wearing unevenly.
If you play a PlayStation controller, recalibrating it can sometimes pull the center back in. And if the controller is old, how long a controller lasts explains why heavy shooters wear sticks out quicker than other players.
when you switch controllers
reWASD makes one point I think is worth repeating: check your deadzone again whenever you change controllers, because sticks wear differently.
A deadzone tuned for your old pad is wrong for a new one. A brand new controller may need almost none. A pad you borrowed from a friend may need a lot.
The same goes for a swap on something like a DualSense Edge. My DualSense Edge post covers what a fresh stick module changes, and a new module is a good reason to re-measure.
deadzone is not the only thing that affects aim
If your aim still feels off after the deadzone is right, a few other things are worth checking.
Sensitivity is the obvious one. It sits in the same menu and changes how fast the camera moves once the stick is past the deadzone. I have left it out of this post on purpose, because the guides I read disagree on good values and I could not find a source that explains how it interacts with deadzone. Change one setting at a time, so you know which one helped.
Input delay is another. A wireless connection, a busy USB hub, or a low polling rate can all make the stick feel late, and no deadzone setting fixes that. The polling rate test and latency test will show you whether the controller is the slow part, and wired vs Bluetooth vs 2.4GHz compares the connection types.
Aim assist is the third. Esports.net notes that aim assist is switched off while gyro aiming is active, so if aim feels weaker than usual, check that setting before blaming your deadzone.
a short version
If you only want the steps:
- Put the controller down and read both sticks in the drift test.
- Start both deadzones at 5% in Fortnite.
- Let go of the sticks in a safe spot and watch for movement.
- Raise only the stick that moves, one percent at a time.
- Stop as soon as it settles.
- If you need a lot more than 5% to stop it, test the stick for wear.
what I could not confirm
I could not find an official Epic source for the default value or the range, so I have not stated either. I also have not tested these numbers in every game mode, and the menu layout may change between Fortnite updates.
The recommended starting values come from the guides linked above, and they are opinions from players, not measurements. If your own testing gives a different number, go with yours.