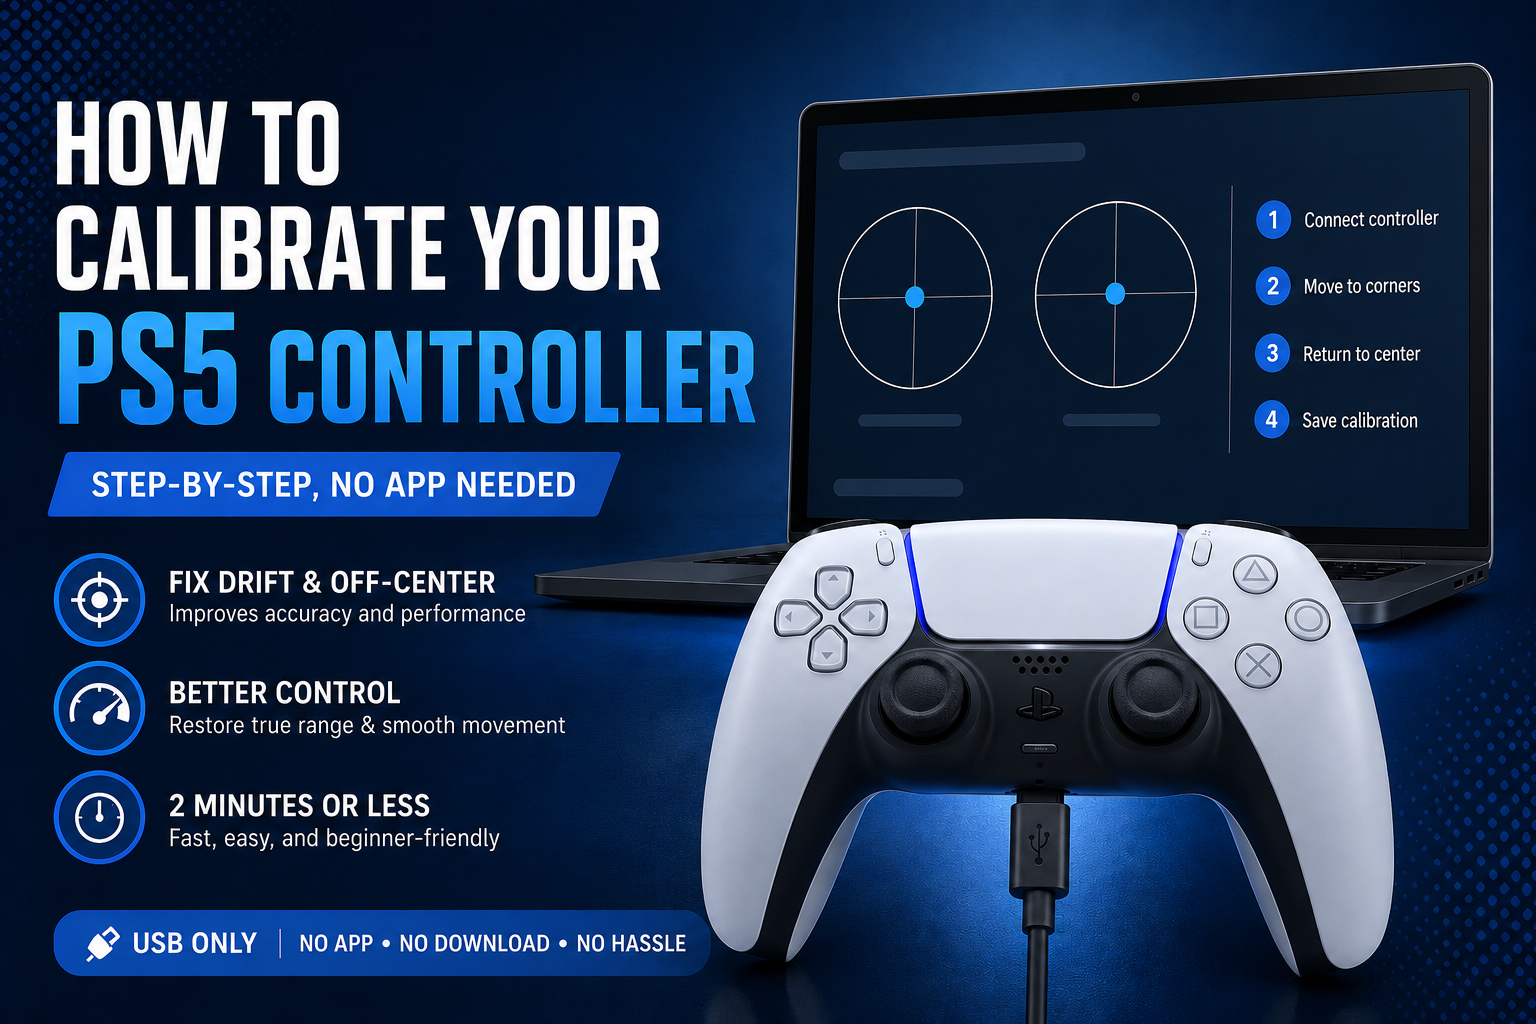
A DualSense that feels slightly off center, drifts a little under load, or just does not feel as tight as it did on day one usually does not need a repair. It needs calibration. This resets how the controller reports stick position and range, and it takes about two minutes once you know where to look. Here is exactly how to do it, both through the PS5 system menu and through a browser based tool that works directly from your computer.
Quick answer: Plug the controller into your computer with a USB cable, open a calibration tool in Chrome or Edge, click Connect, then follow the on-screen prompts to move each stick to its corners and back to center. The whole process takes under two minutes and does not require installing anything or opening the controller.
How do I calibrate my PS5 controller?
There are two ways to do this. The PS5 system settings menu offers a basic version built into the console itself. A browser based tool offers a more precise version that writes directly to the controller's firmware. The table below shows how they compare before you pick one.
| System settings | Browser tool | |
|---|---|---|
| Needs a computer | No | Yes |
| Precision | Basic | Full range and center mapping |
| Connection required | Wireless or wired | Wired USB only |
| Time | About 1 minute | About 2 minutes |
| Best for | A quick reset | Confirmed drift or a replaced stick |
Signs you actually need to calibrate
Not every odd feeling controller needs calibration, so it helps to know what actually points to a miscalibrated center versus something else entirely. A camera or reticle that creeps slowly in one direction while the stick sits untouched, a stick that feels slightly off center visually compared to the other one, or noticeably uneven maximum range between left and right sticks are the clearest signals.
A controller that recently had a stick module replaced, whether through a repair shop or a DIY swap, almost always needs calibration afterward, since a new physical part rarely lines up with the old stored center value by coincidence.
What calibration is not for: a stick that feels fine at rest but occasionally skips or stutters during fast movement usually points to a polling rate or connection issue rather than a centering problem, and buttons that feel unresponsive have nothing to do with stick calibration at all. Matching the actual symptom to the actual fix saves a wasted calibration attempt on a problem it was never going to solve.
What calibration actually fixes
Every analog stick reports its position as a set of coordinates, and those coordinates are supposed to sit at a neutral center when the stick is untouched. Over time, or after replacing a worn stick module, that center point can shift slightly, and the maximum range in each direction can become uneven between sticks. Calibration corrects both of these. It resets the stored center point and remaps the full range of motion so the controller reports position accurately again.
What calibration does not fix is physical wear on the potentiometer or sensor itself. If the stick reports movement while sitting completely untouched, that is drift caused by a worn component, not a miscalibrated center point, and no calibration process reverses that kind of wear.
Running a quick check on our stick drift test before calibrating tells you which situation you are actually dealing with, since calibrating a stick that has genuine hardware wear will not hold for long even if it seems to help briefly.
Method 1: Through the PS5 system settings
This is the built in option and does not require a computer.
- From the PS5 home screen, go to Settings, then Accessories, then Controllers.
- Select General, then look for Adjust Controller Settings or a similarly labeled calibration option, depending on your system software version.
- If this option is not visible, update your console's system software first. Sony added and refined this menu in later firmware versions, so an outdated console may not show it at all.
- Follow the on screen prompts, which will ask you to move each stick through its full range and let it rest at center.
This method is quick and works entirely on the console, but it offers less precision than a dedicated calibration tool and does not expose the same level of manual control over center point and range mapping. It also does not work identically across every system software version, since Sony has refined this menu over time, and older PS5 units that have not been updated recently may find the option missing entirely or presented differently than described above.
Method 2: Browser based calibration (more precise)
This is the method worth using if the console menu did not fully resolve the issue, or if you want more control over the process. Our PS controller calibration tool runs entirely in the browser using the WebHID API, which means no software installation, no drivers, and nothing leaves your computer during the process.
A few things worth knowing before starting. This requires a wired USB connection. Bluetooth does not expose the HID feature reports that calibration depends on, so a wireless connection simply will not work for this specific process, even though it works fine for normal gameplay. It also requires a Chromium based browser, Chrome or Edge, since Firefox and Safari do not currently support the WebHID API this relies on.
Steps:
- Connect your DualSense or DualSense Edge to your computer with a USB cable.
- Open the calibration tool and click Connect. Your browser will show a device picker popup listing nearby USB devices. Select the entry that names your controller, usually shown as "Wireless Controller" or "DualSense," and click pair or connect in that popup, not just on the page itself. This step trips people up more than anything else in the process, since it is easy to assume the page button alone is enough.
- Select Calibrate Stick Center. Push both sticks to each corner in sequence and release, letting them rest naturally each time. This samples the true resting position rather than assuming it.
- Slowly rotate both sticks through full circles when prompted. This maps the complete range of motion in every direction, not just the four cardinal points.
- The calibration applies temporarily first, so you can test immediately by moving the sticks and confirming the reported position looks correct and centered. You should see the on-screen coordinate readout sit at or very close to zero on both axes the moment you let go of each stick. That is the actual confirmation the fix worked, not just a feeling that it seems better.
- Once you're satisfied, save the calibration permanently. This writes the new center and range data directly to the controller's internal memory, the same storage Sony uses during factory calibration, so it persists across reboots and reconnects rather than resetting the next time you power on.
Until you complete step 6, nothing is permanent. You can close the tab, unplug the controller, or back out at any point before saving and nothing about the controller changes. This matters because the biggest hesitation people have going in is worrying they will damage the controller by getting a step wrong, and that risk does not really exist until the save step is confirmed.
If the Connect button does nothing: this is almost always one of three things. The cable is a charge-only cable rather than a data cable, which is common with cheaper third-party USB-C cables, so try the cable that shipped with the console first.
The browser blocked the device permission prompt, which can happen if a previous site denied it, so check your browser's site settings for blocked USB permissions. Or the controller is connected to a USB hub instead of directly to the computer, and hubs occasionally interfere with the HID handshake this tool depends on.
Why this works at the firmware level
Unlike a software dead zone, which just ignores small input near center without actually changing what the stick is reporting, real calibration rewrites the calibration data stored in the controller's non-volatile memory.
This is meaningfully different because a dead zone masks a slightly off center stick by ignoring the drifted range, while true calibration corrects the actual reported values at the source.
That distinction matters if you play games that read raw stick input differently than the system level dead zone accounts for, since a masked drift can still show up inconsistently depending on how a specific game handles its own input curve.
When calibration will not be enough
If you calibrate and the stick reports a clean center immediately after, but drift returns within a day or two of normal play, that is a strong sign of actual hardware wear rather than a miscalibrated center point.
Calibration can temporarily mask early stage wear by resetting the reference point, but a genuinely worn potentiometer will drift again as the wear continues, since the underlying physical contact keeps degrading regardless of what the stored center value says. At that point, replacing the stick module or the controller itself is the more permanent fix, not repeated recalibration.
It's also worth noting that some replacement or aftermarket stick modules, particularly ones not perfectly matched to the original hardware, can calibrate successfully but still feel slightly inconsistent afterward. This is a known limitation with mismatched parts rather than an error in the calibration process itself.
Common questions
Do I need to calibrate a brand new controller? Not usually. Controllers ship calibrated from the factory. Calibration becomes useful once you notice actual drift, uneven stick range, or after replacing a stick module yourself.
Can I calibrate over Bluetooth? No. The calibration process depends on HID feature reports that are only exposed over a wired USB connection. Bluetooth works fine for regular gameplay but not for this specific process.
Will calibrating void my warranty? No. This uses the same official calibration commands Sony's own tools use internally, and it does not involve opening the controller or modifying hardware.
How often should I recalibrate? There's no fixed schedule. Recalibrate when you notice drift, after replacing a stick, or if a stick was recently under heavy stress, such as after a drop. Recalibrating on a routine schedule without any symptoms rarely changes anything.
Can I undo a calibration if I make a mistake? Yes, before saving. Nothing writes to the controller until you confirm the save step, so you can redo the corner and circle prompts as many times as needed. After saving, you can simply run the process again to overwrite it, since each calibration replaces the previous one rather than stacking on top of it.